







The kettlebell swing is a simple-looking exercise with demanding technique. It combines a powerful hip hinge, rapid hip extension, trunk control, and a relaxed but secure grip. When performed well, the movement can support strength training, cardio fitness, power development, and efficient home workouts. When performed poorly, it may place unnecessary stress on the lower back, shoulders, knees, wrists, or neck.
This guide explains the most common kettlebell swing form mistakes and corrections. It focuses on the standard two-handed Russian kettlebell swing, in which the bell travels roughly to chest height rather than overhead. The same principles can help recreational athletes, runners, and strength-training beginners build a more controlled movement pattern.
What Is a Kettlebell Swing?
A kettlebell swing is a ballistic hip-hinge exercise. The legs and hips create most of the movement, while the arms guide the kettlebell. The bell is driven forward by forceful extension of the hips and knees, not lifted primarily with the shoulders.
In a technically sound swing, the athlete begins with the kettlebell slightly in front of the feet, hikes it back between the thighs, and extends the hips to project it forward. The trunk remains braced, the spine stays relatively neutral, and the arms remain connected to the torso without aggressively pulling the bell upward.
The exercise is often included in strength and conditioning programs because it trains coordination, posterior-chain strength, power, and work capacity in one movement. It can also be useful in a home workout because it requires only one compact piece of equipment. However, a swing is not automatically suitable for every person, particularly someone with acute pain, a recent injury, uncontrolled blood pressure, or no experience with loaded hinging.
The Basic Kettlebell Swing Sequence
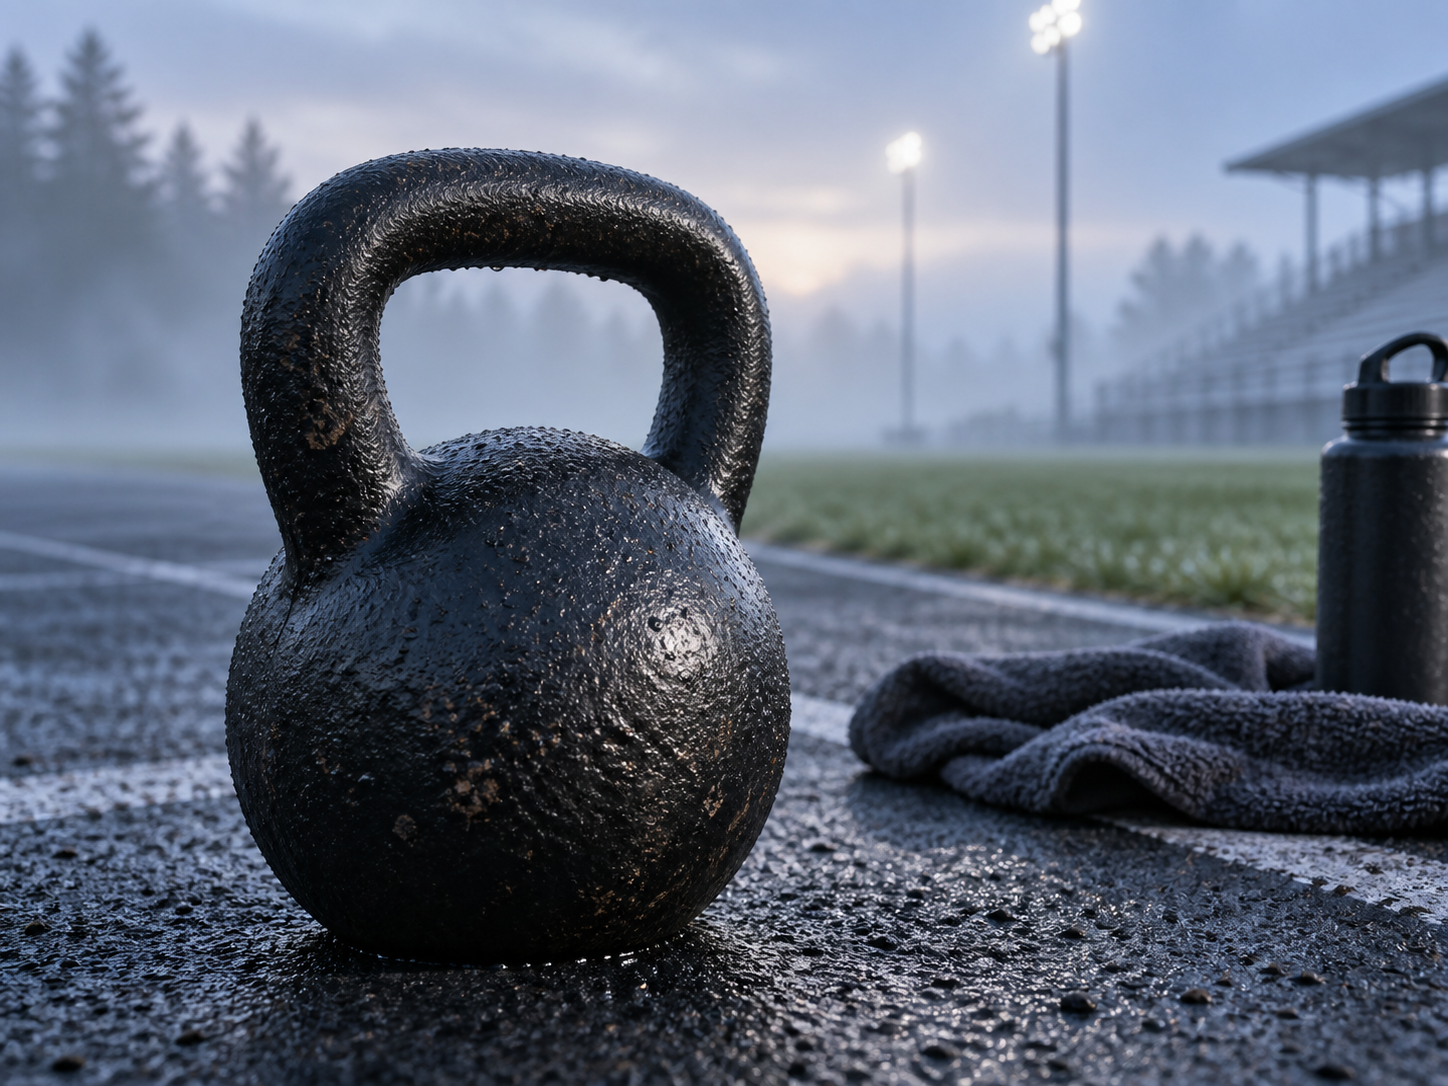
1. Set up the stance
Stand with the feet about hip-width apart, or slightly wider if that allows the bell to pass comfortably between the legs. Place the kettlebell on the floor a short distance in front of you. The exact distance depends on your proportions, but it should be far enough forward to create room for a hike pass and close enough to avoid reaching excessively.
2. Create a hinge
Push the hips backward while keeping a soft bend in the knees. Think about closing a car door with the hips rather than squatting straight down. Keep the chest angled toward the floor, the neck in line with the spine, and the weight balanced through the whole foot.
3. Hike the bell back
Grip the handle firmly and pull the kettlebell back between the thighs. The forearms should make contact with the upper inner thighs or pass close to them. This is a deliberate, athletic hike rather than a slow pull away from the body.
4. Drive through the floor
Push the feet into the floor and snap the hips forward. The glutes should finish the extension, while the abdominals keep the ribs and pelvis controlled. The kettlebell rises because of the force generated by the hips.
5. Let the bell float
At the top, the body should be tall and strong without leaning backward. The kettlebell may reach approximately chest height in a Russian swing. The arms are long but not rigid, and the shoulders remain away from the ears. Do not continue lifting the bell with the shoulders once the hips have finished their work.
6. Receive the downswing
As the kettlebell begins to descend, allow it to come back toward the body before guiding it between the legs. Hinge again by sending the hips backward. The next repetition should begin from the same controlled hinge rather than from a rounded lower-back position.
Common Kettlebell Swing Form Mistakes and Corrections
Mistake 1: Turning the swing into a squat
A squat sends the knees forward and lowers the hips toward the floor. A swing requires the hips to travel backward while the shins remain comparatively vertical. Excessive knee bend can reduce the contribution of the glutes and hamstrings and make the movement feel slow or disconnected.
Correction: Practice unloaded hip hinges with your hands reaching behind you. Imagine that the wall behind you is the target for your hips. Maintain a small knee bend, then add the kettlebell only when you can reproduce the hinge without collapsing into a squat.
Mistake 2: Lifting the kettlebell with the arms
Some athletes attempt to raise the bell by front-raising it with the shoulders. This commonly causes early fatigue in the deltoids, tension in the neck, and a swing that lacks power. The arms should transmit the force from the hips, not replace it.
Correction: Perform a few hip snaps without a kettlebell, then use a light bell and focus on projecting it forward. At the top, ask whether the bell feels as though it is floating. If the shoulders are doing most of the work, reduce the load and return to the hinge.
Mistake 3: Rounding the lower back
A rounded back often appears during the hike, at the bottom of the swing, or when the athlete becomes fatigued. It may result from limited hip mobility, poor bracing, an overly heavy bell, or placing the bell too far forward.
Correction: Keep the ribs stacked over the pelvis and brace the abdomen as though preparing for contact. Move the hips back rather than reaching the chest down. Film a set from the side or ask a qualified coach to check whether the spine position changes as the bell passes between the legs.
Mistake 4: Hyperextending at the top
Leaning backward at lockout is not the same as standing tall. It usually indicates that the athlete is driving the pelvis forward too aggressively or losing abdominal control. Hyperextension can create unnecessary compression and may cause discomfort in the lower back.
Correction: Finish with the glutes contracted, the abdominals active, and the ribs down. Imagine standing against a wall with the back of the head, upper back, and pelvis aligned. The top position should be firm but not exaggerated.
Mistake 5: Letting the kettlebell travel too low
If the bell drops toward the knees or ankles, the athlete may lose the compact hinge position. The shoulders can become pulled forward, and the lower back may round during the return.
Correction: Keep the bell high in the groin during the backswing. The forearms should pass close to the inner thighs. If the bell is repeatedly too low, reduce the range of motion, improve the hike pass, or use a lighter kettlebell until the path becomes consistent.
Mistake 6: Starting with the kettlebell too close or too far away
A bell placed directly under the body can force a cramped start. A bell placed too far forward encourages reaching, shoulder tension, and an awkward first repetition. Both errors can disrupt the direction of the hike pass.
Correction: Begin with the bell in front of the feet at a distance that lets you hinge forward, grasp the handle, and keep the shoulders slightly ahead of the bell. From there, hike it back with control instead of curling it upward.
Mistake 7: Bending the elbows too early
Early elbow bend often turns the swing into a partial upright row. It can also make the movement feel like an arm exercise and alter the bell’s natural path.
Correction: Keep the arms long during the forward phase. At the top, allow the hands to remain relaxed enough for the bell to float while maintaining a secure grip. The elbows may bend slightly as the bell changes direction, but they should not initiate the lift.
Mistake 8: Losing foot pressure
Rising onto the toes, shifting into the heels, or allowing the feet to roll outward can reduce stability. A powerful swing needs a dependable connection with the floor.
Correction: Keep pressure through the heel, base of the big toe, and base of the little toe. The feet should remain planted without gripping the floor excessively. If balance is poor, shorten the set and practice slower hinges between repetitions.
Mistake 9: Overgripping the handle
A grip that is unnecessarily tight can create forearm fatigue and shoulder tension. At the same time, a loose grip can allow the kettlebell to slip or rotate unexpectedly.
Correction: Use a secure grip that is firm enough for control but not maximal. Keep the wrists generally neutral and avoid bending them backward. Chalk may help with sweaty hands, but it does not correct poor technique or an unsuitable load.
Mistake 10: Continuing after technique breaks down
Fatigue can make the knees drift inward, the back round, or the lockout become excessive. More repetitions are not useful when they reinforce an unsafe pattern.
Correction: End the set when you can no longer reproduce the same hinge, breathing pattern, and bell path. Rest, reduce the repetitions, or choose a lighter kettlebell. Quality should determine the set length.
Practical Drills for Better Swing Form
Progressions can make corrections easier to apply than repeated full swings. Start with two-legged, unloaded movements before adding speed.
- Wall hip hinge: Stand a short step away from a wall with your back facing it. Push the hips back until they touch the wall while keeping the spine controlled.
- Dowel hinge: Hold a dowel or broomstick along the back so it contacts the head, upper back, and pelvis. Hinge without losing two of those contact points.
- Dead-stop swing: Place the kettlebell down after each repetition. Reset the stance and hinge before beginning again. This reduces the tendency to rush.
- Hike-pass practice: From a stable hinge, practice pulling the bell back between the thighs and returning it to the floor. Keep the bell close to the body.
- Hard-style plank: Use a brief, controlled plank to practice abdominal bracing without movement. The aim is to understand trunk stiffness, not to hold the position until exhaustion.
Choose a load that allows you to maintain the same technique from the first repetition to the last. Beginners should usually learn the movement with direct instruction from a qualified strength coach or physical therapist, especially if they have a history of back, hip, knee, or shoulder problems.
Programming the Swing in a Workout
The kettlebell swing can be used as a power exercise, conditioning interval, or part of a full-body home workout. Its role should match the athlete’s skill level and training goal.
For technique practice, use short sets with generous rest. For strength and power training, perform the swing early in the session when coordination and speed are high. For cardio fitness, it can be combined with walking, cycling, or running intervals, but the conditioning goal should not force you to sacrifice movement quality.
In a broader strength-training plan, balance the swing with controlled exercises such as squats, presses, rows, and loaded carries. Runners may use it as a supplementary power exercise, but it does not replace gradual running progression, calf and foot conditioning, or sport-specific recovery. Yoga and flexibility work can support body awareness and mobility, although extreme flexibility is not required for a technically sound swing. Adequate nutrition, hydration, sleep, and recovery techniques also influence the ability to train safely.
Benefits, Pros, and Cons
Potential benefits
- Develops coordinated hip extension and posterior-chain strength.
- Combines resistance training with a cardiovascular demand.
- Requires relatively little equipment and fits many home workouts.
- Can improve awareness of bracing, posture, and force transfer.
- Allows simple progression through load, repetitions, density, or exercise variations.
Limitations and potential drawbacks
- It is technically demanding and may be inappropriate for someone who cannot yet hinge comfortably.
- Ballistic repetitions can magnify poor timing or poor spinal control.
- The swing does not train every movement pattern, so it should not be the only strength exercise.
- It may aggravate existing pain when the load, volume, or technique exceeds current capacity.
- Using a heavier kettlebell is not automatically better; load must remain compatible with control and speed.
These points reflect general training considerations rather than a guarantee of a particular result. Individual responses vary according to experience, mobility, conditioning, medical history, and program design.
How to Self-Check Your Form
Record a short side-view video with the camera far enough away to show the feet, kettlebell, hips, and head. Review whether the bell stays close during the backswing, whether the spine remains controlled, and whether the knees move in a consistent direction. Also check for a quiet neck, neutral wrists, stable feet, and a vertical finish without backward lean.
Use external feedback carefully. The American College of Sports Medicine, in its ACSM’s Guidelines for Exercise Testing and Prescription, emphasizes individualized exercise prescription and appropriate screening. The National Strength and Conditioning Association’s Exercise Technique Manual for Resistance Training also treats technique, progression, and exercise selection as linked decisions rather than isolated details. These references provide general professional frameworks; neither replaces an in-person assessment.
Safety and Informational Disclaimer
Stop the exercise if you experience sharp pain, radiating symptoms, unusual weakness, chest pain, faintness, or loss of control. Do not train through worsening pain. Seek advice from a qualified healthcare professional before beginning or changing exercise if you have a current injury, recent surgery, a neurological condition, uncontrolled cardiovascular risk, pregnancy-related concerns, or another medical issue that may affect exercise tolerance. This article is general educational information, not a diagnosis or individualized medical program.
Kettlebell Swing Q&A
Should the kettlebell swing be felt in the lower back?
The lower back may work to stabilize the trunk, but it should not be the primary source of power or produce sharp, increasing, or localized pain. If the lower back dominates, review the hinge, bracing, bell path, and load.
How high should the kettlebell travel?
For a Russian swing, chest height is a common endpoint. The bell does not need to travel overhead. Height should come from hip power, and the athlete should stop the forward path before compensating with shoulder lifting or back extension.
Is a kettlebell swing a squat or a deadlift?
It shares qualities with both exercises but is best understood as a ballistic hip hinge. The hips move back and forward quickly, while the knees bend enough to support the hinge without turning the movement into a deep squat.
How many swings should a beginner perform?
There is no universal number. Begin with short sets that leave enough energy to preserve form, rest fully, and increase volume gradually. A coach can help select an appropriate starting point based on experience, load, and training goals.
Can kettlebell swings help runners?
They may complement running by training hip extension, trunk control, and general conditioning. They do not replace running-specific practice, gradual mileage management, mobility work, recovery, or injury-prevention strategies.
Should I swing every day?
Daily practice may be reasonable for some experienced athletes using low volume, but it is not required. Beginners generally benefit from recovery between demanding sessions and from a balanced program that includes strength, cardio, mobility, and rest.
Final Takeaway
The central correction for most kettlebell swing form mistakes is to restore the hip hinge. Keep the bell close, drive with the hips, brace the trunk, maintain stable feet, and finish tall without leaning backward. Build skill with drills and short sets before increasing load or conditioning volume. When pain, fatigue, or uncertainty changes the movement, stop and seek qualified guidance rather than forcing more repetitions.