






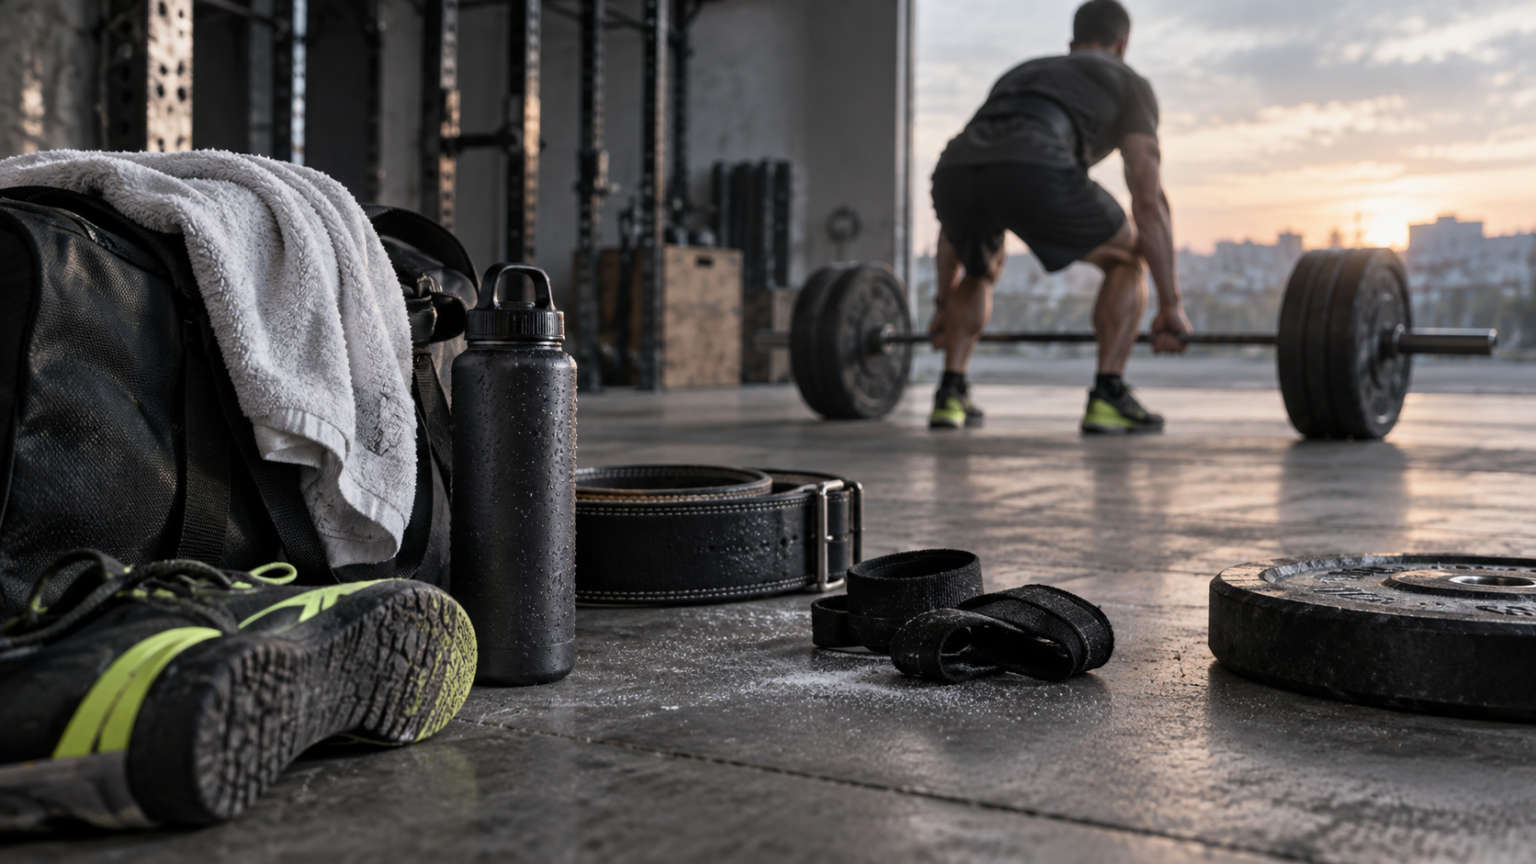
Deadlifts can build strength for everyday lifting and many sports, but poor setup, unsuitable loading, or trying to push through pain can make them uncomfortable or unsafe. Learning how to do a proper deadlift without back pain starts with choosing a manageable variation, bracing your trunk, and moving with control—not with lifting the heaviest weight possible.
This guide explains what a deadlift is, how to practise the movement, how to adjust it for your body and equipment, and when to stop and seek advice. No technique cue can guarantee a pain-free lift: previous injuries, health conditions, fatigue, and individual anatomy all matter.
What is a deadlift?
A deadlift is a strength exercise in which you lift a weight from a stable starting position, usually near the floor, by extending your hips and knees. The weight travels close to your body as you stand. You then return it to the floor with control. The exercise trains several muscle groups, including the glutes, hamstrings, quadriceps, upper back, and muscles that brace the trunk.
“Deadlift” describes a family of movements rather than just one barbell technique. Common options include the conventional barbell deadlift, sumo deadlift, Romanian deadlift, and kettlebell deadlift. They differ in stance, range of motion, and how much the knees bend. A raised kettlebell or bar can also shorten the distance to the floor, which may make learning the movement more manageable.
Can a deadlift be done without back pain?
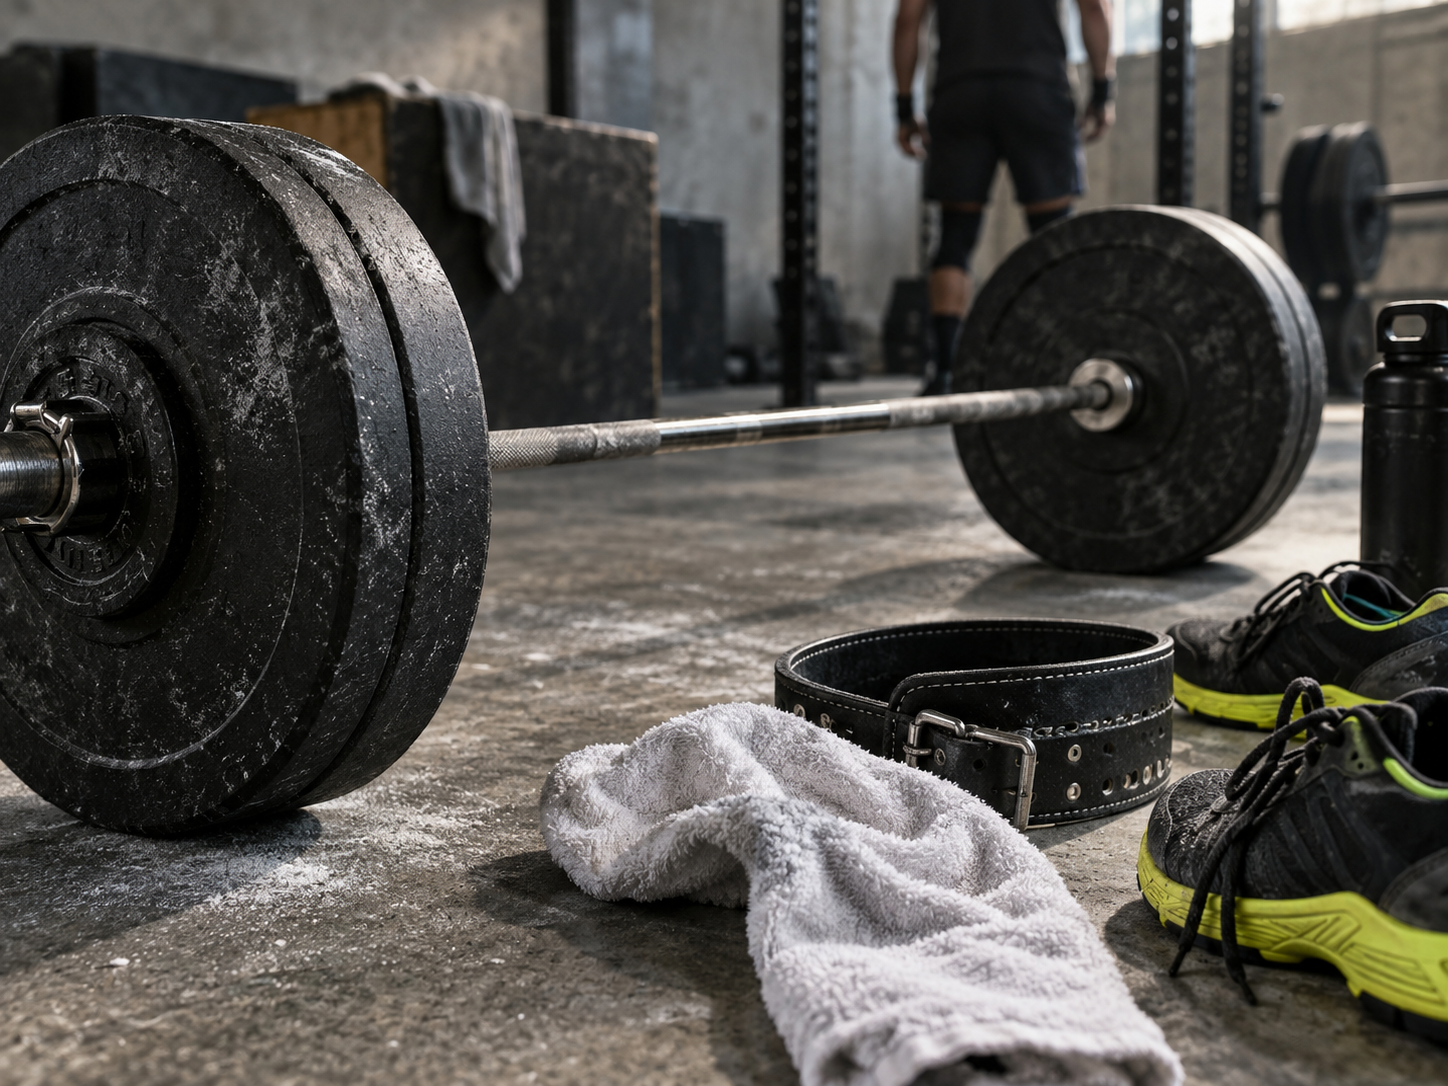
Many people can deadlift without pain, but no checklist guarantees that result. A rounded-looking back is not, by itself, a diagnosis of injury; nor does a particular posture suit every lifter. For a beginner, a useful aim is to maintain a comfortable, controlled trunk position, keep the load close, and avoid sudden changes in effort or technique. Stop if the lift causes sharp, worsening, or unusual pain.
The American College of Sports Medicine (ACSM) and the National Strength and Conditioning Association (NSCA) both publish guidance on resistance training and exercise technique. Their general training principles support learning movements, managing load, and progressing gradually. This article applies those broad principles to the deadlift; it is not a substitute for an assessment by a qualified clinician or coach.
How to do a proper deadlift: step-by-step
The following instructions describe a conventional barbell deadlift. If you do not have a barbell, practise the same basic pattern with a light kettlebell or dumbbell. Learn with an empty or very light bar before adding substantial weight.
1. Set up the bar and your stance
Place the bar over the middle of your feet, with your feet about hip-width apart. A standard barbell setup often uses plates that raise the bar off the floor; if your plates are smaller, use stable blocks or a rack to raise the starting position. Do not balance a bar on loose objects. Your shins should be close to the bar without pushing it forward.
Stand where you can reach the bar by bending at the hips and knees. Grip it just outside your legs. Choose a grip that feels secure: an overhand grip is a straightforward place to start, while straps or other grips may be appropriate in some training contexts. Avoid changing to a mixed grip simply to lift a weight you cannot otherwise control.
2. Hinge, bend, and brace
Push your hips back, then bend your knees enough to reach the bar. Think of bringing your chest and hips into a stable position together rather than squatting as low as possible. Keep your whole foot in contact with the floor. Your shoulders will generally be slightly in front of the bar at the start, but the exact position depends on your proportions.
Before lifting, take a breath and tighten your trunk as if preparing for a gentle bump. Bracing means creating firm support around your midsection; it does not mean sucking your stomach in or holding your breath indefinitely. Keep your neck comfortable and your gaze on a point on the floor a short distance ahead, rather than craning your head up.
3. Take the slack out of the bar
With your hands set, gently tighten your arms and body until you feel connected to the bar. If using a barbell, a slight controlled pull can remove slack from the bar and plates before they leave the floor. Avoid jerking. Recheck that your weight is balanced over your feet and the bar remains close to your legs.
4. Stand up with the weight
Push the floor away and stand by extending your knees and hips in a coordinated way. Keep the bar close enough to brush your shins or thighs without scraping aggressively. Your trunk should remain braced as the weight rises. Do not try to lift by yanking with your arms, leaning far backward, or throwing your hips forward at the top.
Finish standing tall, with your ribs stacked comfortably over your pelvis. You do not need to lean back or squeeze your glutes as hard as possible. If the bar drifts away from you, the lift feels uncontrolled, or you have to twist to finish, reduce the load and practise the setup.
5. Lower the bar under control
Start the descent by sending your hips back. Once the bar passes your knees, bend them to guide the bar to the floor. Keep it close and maintain a stable trunk position. Reset your stance and brace before each repetition, especially when you are learning. Avoid bouncing the bar into another repetition unless you have the skill and equipment to do so safely.
Useful technique checks
- The load stays close: A bar that drifts forward increases the demand on your body. Check the path from a side view, ideally with a coach if you are unsure.
- You can control each repetition: Speed is less important than a steady setup and a controlled return.
- You can breathe and brace: Practise bracing with light loads first. Some experienced lifters use a breath hold during a demanding repetition, but people with cardiovascular or other health concerns should ask a clinician about appropriate breathing strategies.
- The range of motion suits you: If reaching the floor forces an uncomfortable position, raise the bar. Mobility, limb proportions, and prior injuries can affect a comfortable start position.
- There is no need to chase a perfect pose: Small differences in stance and trunk angle are normal. Aim for a repeatable, pain-free pattern rather than copying another person’s build or style.
Common reasons a deadlift feels uncomfortable
Discomfort can have different causes, so do not assume that every sore back means poor form. The load may be too heavy for your current ability, the number of hard sets may be excessive, or you may be tired from training, work, or sport. A bar that starts too low, an abrupt increase in weight, or repeated maximal efforts can also make practice less manageable.
Other possibilities include limited confidence with the movement, a stance that does not suit you, or a health issue unrelated to technique. Mild muscle effort is not the same as sharp pain, numbness, or a loss of strength. If pain persists, worsens, returns repeatedly, or affects ordinary activities, consult a healthcare professional rather than trying to diagnose it from a video.
Practical ways to modify the deadlift
Raise the starting height
Use a stable rack, purpose-made blocks, or appropriately sized plates to start the bar higher. This reduces how far you need to reach and can help you learn to brace and hinge. Lower the starting height gradually only if the position remains comfortable and controlled.
Try a kettlebell deadlift
A kettlebell between your feet offers a simple home-workout option. Hold the handle with both hands, hinge and bend to reach it, brace, then stand. A light dumbbell held vertically can work similarly. Make sure the weight and floor are stable, and do not use improvised objects that might slip or break.
Consider a different variation
A sumo stance places the feet wider and the hands inside the legs; it may feel more comfortable for some lifters, but it is not automatically safer or better. A Romanian deadlift starts from standing and focuses on hinging the hips with only a small knee bend, so it is not a direct replacement for learning a floor pull. Explore variations with a qualified coach or physiotherapist if pain or mobility limits your options.
Progressing safely with strength training
Start with a weight that lets you practise several clean repetitions without grinding or losing control. Leave some effort in reserve rather than testing your maximum in early sessions. When the movement is consistent and recovery is good, increase the load in a small, manageable step or add a repetition—not both at once. There is no universally correct progression rate.
Deadlifts need not be performed every day. Plan them around your other strength training, running, sport, and recovery. If heavy lower-body work leaves you too fatigued to run or train well, reduce the overall workload or separate demanding sessions. Sleep, adequate food, hydration, and rest days support training, but nutrition or recovery techniques cannot correct an unsafe setup or make persistent pain harmless.
For home workouts, use a non-slip, level surface and enough clear space to lower the weight. Check equipment before training. Do not deadlift on a slippery floor, near people or pets, or with a damaged bar or unstable plates. A training partner can help with observation, but should not distract you during a lift.
Warm-up, flexibility, and recovery
A brief general warm-up—such as easy walking, cycling, or light jogging—can help you feel ready to train. Follow it with a few unloaded hip hinges and gradual warm-up sets using lighter weights. There is no need to exhaust yourself with a long routine. Yoga or mobility work may help some people feel more comfortable moving, but flexibility alone does not guarantee a safe deadlift.
After training, easy movement, a normal meal, fluids, and sleep are practical recovery basics. Gentle stretching is optional; avoid forcing a stretch into pain. If you are returning from injury, a clinician can advise whether and how to reintroduce loaded hinging. Sports psychology strategies such as a repeatable setup routine may help focus, but confidence should not be used to override warning symptoms.
Pros and limitations of deadlifts
Potential benefits
- They practise lifting a load from the ground, a pattern relevant to many daily tasks and sports.
- They train several muscle groups in one exercise and can be adapted with different equipment and starting heights.
- They can fit into a broader strength program alongside cardio fitness, running, and sport-specific practice.
Limitations and trade-offs
- Deadlifts require attention to setup and load management; they are not essential for everyone.
- They can create substantial fatigue, which may conflict with running, competition, or other hard training.
- One variation may not suit every body, injury history, goal, or training environment.
- Good technique reduces avoidable errors but cannot eliminate injury risk or guarantee freedom from pain.
If deadlifts remain uncomfortable despite reducing the load and modifying the range, choose another exercise temporarily and get individual guidance. A hip hinge can also be trained through options such as a supported cable pull-through or a light kettlebell movement, provided it is comfortable and appropriate for you.
When to stop and seek help
Stop the set if you feel sharp or escalating pain, sudden weakness, numbness, tingling, or pain that changes how you move. Seek prompt medical care for severe symptoms or concerning changes such as loss of bladder or bowel control, numbness around the groin or saddle area, or rapidly worsening weakness. These symptoms require professional assessment, not a technique adjustment.
For recurring or persistent back pain, consult a doctor, physiotherapist, or other appropriately licensed healthcare professional. A qualified strength coach can help with exercise instruction, but a coach is not a replacement for medical evaluation. The NHS guidance on back pain likewise advises seeking professional help for serious symptoms and persistent problems.
Concise Q&A
Should my back be completely straight?
Do not force an exaggerated arch. Aim for a comfortable, braced trunk position that you can repeat. Individual posture varies, and a photo alone cannot diagnose an injury.
Should I feel a deadlift in my lower back?
Your trunk muscles work to stabilise you, so effort there is possible. Sharp, worsening, radiating, or persistent pain is not a cue to push through; stop and seek suitable advice.
How much weight should a beginner lift?
Choose a load light enough to practise the setup and control every repetition. Start with an empty bar, a raised bar, or a light kettlebell if needed. The right load depends on your experience and health, not a universal number.
Can I deadlift if I have back pain?
That depends on the cause and severity. Do not use this article to clear yourself to train. Ask a healthcare professional for advice, particularly if pain is new, persistent, worsening, or accompanied by neurological symptoms.
Key takeaways
To learn how to do a proper deadlift without back pain, use a manageable starting height and load, brace before lifting, keep the weight close, and lower it with control. Progress gradually and adjust the variation to your comfort and equipment. Deadlifts can be useful, but they are optional—not a test of toughness. Stop for concerning symptoms and get individual medical or coaching guidance when needed.
Disclaimer: This article is general educational information, not medical diagnosis or personal treatment advice. Exercise carries risk. Consult a qualified healthcare professional before training if you have an injury, health condition, or persistent pain.