




Learning how to do pistol squats progression from zero requires more than simply trying to lower yourself onto one leg. The pistol squat is a demanding unilateral movement that combines leg strength, balance, ankle and hip mobility, trunk control, and confidence. A gradual plan can help beginners build the required abilities while reducing unnecessary strain on the knees, hips, ankles, and lower back.
This guide explains what a pistol squat is, how to assess your starting point, which progressions to use, how to schedule practice, and when to stop or seek professional advice. It is suitable for home workouts, although a gym can provide useful equipment such as a box, rack, resistance band, or suspension trainer.
What Is a Pistol Squat?
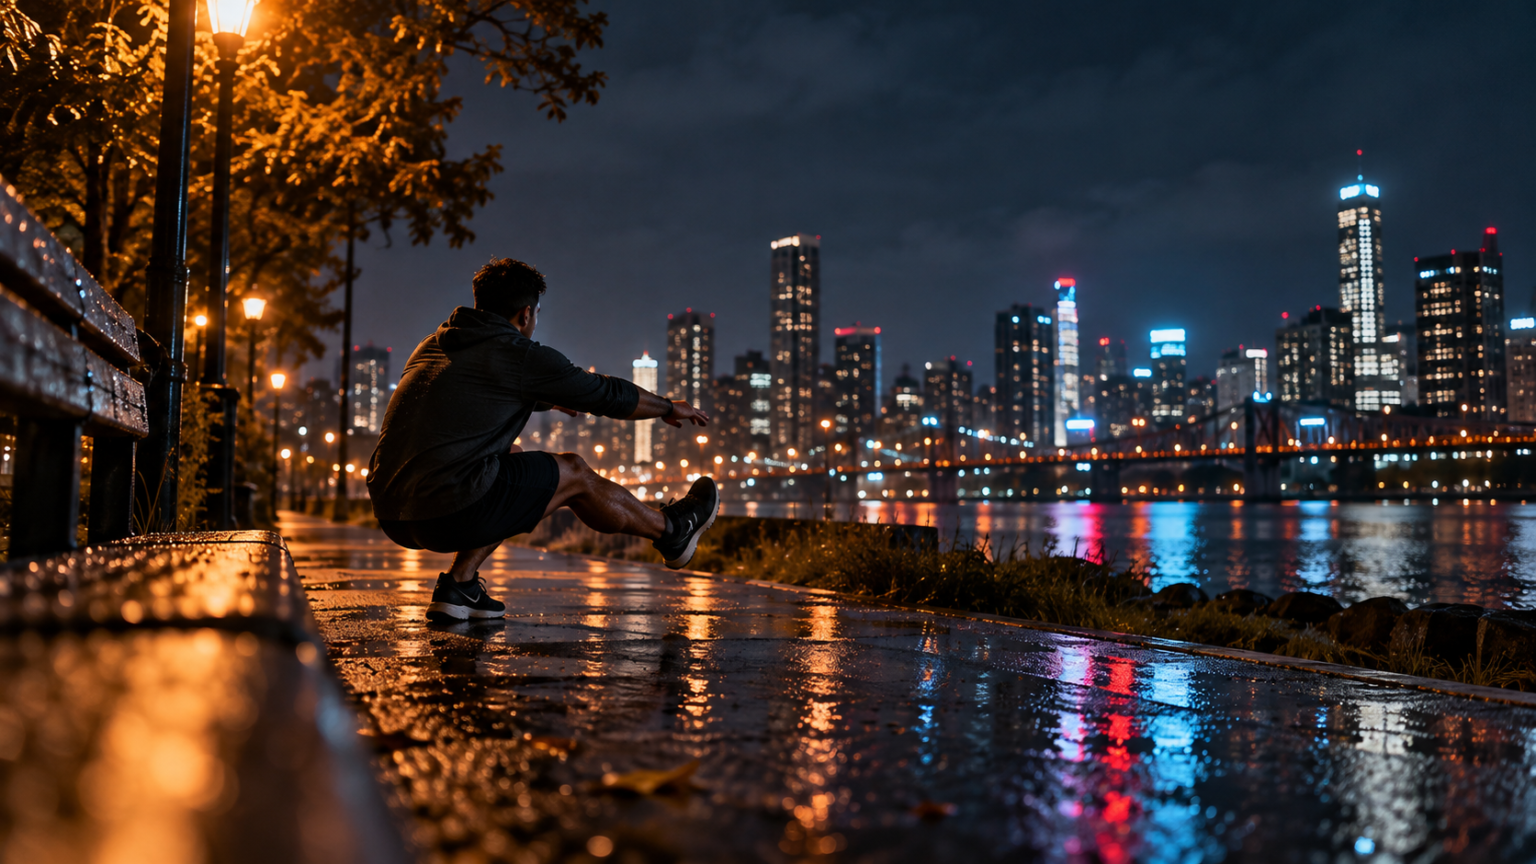
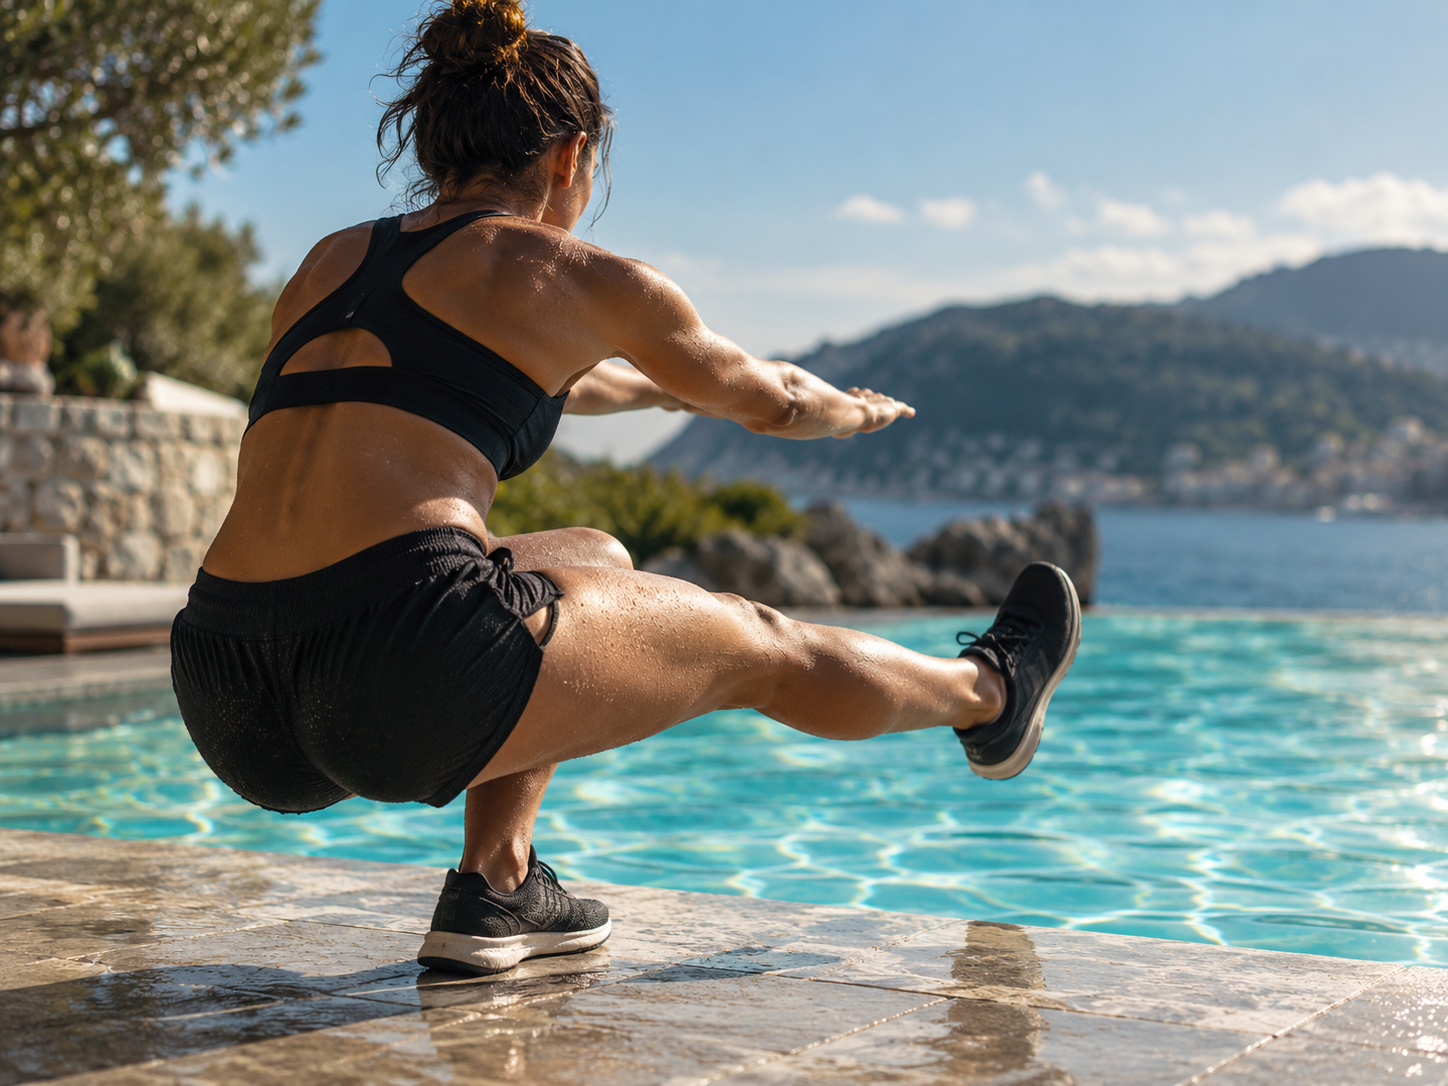
A pistol squat is a single-leg squat in which one leg supports the body while the other leg extends forward. The working leg bends deeply as the hips descend, then the leg, hips, and trunk produce enough force to return to standing. The free leg generally stays off the floor throughout the repetition.
Unlike a standard bodyweight squat, the pistol squat places greater demands on unilateral strength and balance. The supporting ankle must allow sufficient dorsiflexion, the hip must flex deeply, and the torso must remain controlled while the pelvis and knee track appropriately. It is not a basic test of athletic worth, and not every athlete needs a full-range pistol squat for health or performance.
Before You Start: Readiness and Safety
You do not need to be able to perform a full bilateral squat with perfect depth before beginning, but you should be able to practice a comfortable squat pattern without sharp pain. You should also be able to balance briefly on one leg and control a shallow single-leg squat while holding support.
Stop an exercise if you experience sharp, increasing, or unusual pain; numbness; joint instability; or a loss of control that could lead to a fall. Muscle effort, mild fatigue, and a manageable stretch are different from pain. Anyone recovering from a knee, hip, ankle, or back injury should ask a qualified healthcare professional or physical therapist whether this movement is appropriate.
Safety recommendations in this article are consistent with the general exercise-screening and resistance-training principles described by the American College of Sports Medicine and the strength-training approach discussed in the NSCA Essentials of Strength Training and Conditioning, published by the National Strength and Conditioning Association. These sources provide broad guidance rather than a personalized diagnosis or program.
Key Skills You Need to Build
Single-leg strength
The quadriceps, glutes, hamstrings, and calf muscles must control both the descent and ascent. The supporting leg also works harder because it cannot share the load with the other leg. Strength can be developed with split squats, step-ups, reverse lunges, and controlled single-leg squats.
Ankle mobility
Deep squatting requires the knee to move forward over the foot while the heel remains grounded. Limited ankle dorsiflexion can cause the heel to lift, the foot to collapse, or the torso to tip backward. Mobility drills may help, but do not force the joint into a painful range.
Hip mobility and control
The free leg must extend forward while the working hip bends deeply. A person may have enough passive flexibility to reach the position but lack the active strength to hold the free leg there. Hip flexor strengthening, leg lifts, and controlled mobility work can address this difference.
Balance and coordination
The pistol squat is also a skill. Your nervous system must coordinate the foot, knee, hip, trunk, and free leg. Slow repetitions, a stable support, and frequent low-fatigue practice are usually more productive than repeated maximal attempts.
How to Do Pistol Squats Progression From Zero
Step 1: Learn a stable two-leg squat
Begin with bodyweight squats to a comfortable depth. Stand with your feet roughly hip-width apart, brace your trunk gently, and lower by bending the hips and knees. Keep the whole foot connected to the floor and allow the knees to track in the same general direction as the toes. Stand without bouncing at the bottom.
Use a chair or box as a depth target if you need consistency. The target should not force you into a depth that causes pain or makes you lose balance. Practice controlled sets with several comfortable repetitions rather than chasing fatigue.
Step 2: Build basic unilateral strength
Add supported split squats, reverse lunges, and low step-ups. Hold a wall, countertop, or sturdy post if balance limits the movement. Keep most of the work on the front or stepping leg, but do not twist the pelvis or collapse the knee inward.
These exercises develop useful strength without requiring the extreme balance and mobility of a pistol squat. They are also valuable long-term alternatives if a full pistol squat does not suit your body or sport.
Step 3: Practice assisted single-leg squats
Stand beside a sturdy support and hold it lightly with one or both hands. Lift one foot and lower into a shallow single-leg squat. Use the support to maintain balance and, if necessary, to help you stand. Concentrate on keeping the working foot planted and the knee controlled.
Over time, reduce the amount of assistance. A resistance band anchored above you or a suspension trainer can provide adjustable support, but inspect all equipment before use. A stable countertop may be more practical for a home workout than an unsecured chair.
Step 4: Use a box or bench to control depth
Place a box, bench, or firm surface behind you. Stand on one leg and extend the other leg forward as far as you can control. Lower slowly until your hips lightly touch the target, then stand. Start with a higher surface and gradually use a lower one.
Do not drop onto the box or rock backward to generate momentum. The target should guide your depth, not become a place to rest between repetitions. If extending the free leg is difficult, keep it slightly bent or allow the heel to hover near the floor while you develop active control.
Step 5: Add eccentric pistol squats
Use support or a raised platform to focus on the lowering phase. Begin standing, extend one leg, and descend slowly under control. Once you reach a manageable depth, place the free foot down and use both legs to return to standing.
Eccentric practice can help you learn the balance and positions required for the full movement without demanding a complete single-leg ascent. Move slowly enough to maintain alignment, but do not turn every repetition into a prolonged maximal effort.
Step 6: Practice partial-range pistols
Perform a pistol squat to the deepest height you can control, then stand. You can combine a box, light support, or both. Gradually increase the range only when the current depth feels stable and repeatable.
A useful progression is to complete the movement with support first, then perform a few unsupported repetitions within the same partial range. This separates strength practice from balance practice and makes technical errors easier to identify.
Step 7: Attempt the full movement
When you can control a deep assisted or box pistol squat and can perform partial repetitions without pain, try an unsupported repetition. Stand tall, shift your weight over one foot, and extend the other leg forward. Keep the supporting heel grounded, descend with control, and drive through the whole foot to stand.
Use a counterbalance, such as holding a light object in front of you, if it helps you keep your torso organized. A counterbalance is a technique aid, not a shortcut. Remove it gradually as your strength and balance improve.
Technique Cues That Usually Help
- Grip the floor gently with the foot rather than letting the arch collapse.
- Keep the knee tracking generally toward the second or third toe.
- Allow the torso to lean forward naturally instead of trying to remain perfectly upright.
- Keep the movement smooth and avoid bouncing at the bottom.
- Use a depth that you can control without pain or a sudden loss of alignment.
- Keep the free leg active rather than letting it swing for momentum.
- Practice both sides, even if one side progresses faster.
A Practical Weekly Progression
For beginners, practice pistol-squat variations two or three nonconsecutive days per week. Each session can begin with a general warm-up, followed by mobility and strength work. Keep the skill portion relatively fresh; practicing after exhausting cardio or a hard leg workout can make technique less reliable.
A sample session may include bodyweight squats, ankle rocks, supported single-leg squats, step-ups, and box pistol squats. Use a small number of controlled sets and stop with several technically sound repetitions still available. The exact number depends on your training age, recovery, and other activities.
Progress one variable at a time. You might reduce hand assistance, lower the box, increase the range, or improve control. Changing all of these at once makes it difficult to know whether you are adapting or compensating. If your knees cave, heel lifts, or balance deteriorates, return to the previous progression.
Supporting Training: Strength, Flexibility, and Cardio
General strength training can make the progression more efficient. Split squats, step-downs, Romanian deadlifts, calf raises, and trunk exercises train qualities that support single-leg control. Avoid treating the pistol squat as the only leg exercise; bilateral squats and hip-hinge movements remain useful for balanced development.
Yoga or separate mobility sessions may help you explore ankle, hip, and hamstring range with control. Flexibility work should be comfortable and progressive. It cannot replace the strength needed to actively control the bottom position.
Running and cardio fitness can coexist with pistol-squat practice, but schedule demanding running sessions and hard unilateral leg training with enough recovery between them. Fatigued legs may increase compensations and reduce balance. Easy walking, light cycling, or relaxed aerobic work may be better choices on recovery days.
Nutrition for athletes also matters. Adequate overall food intake, protein-rich meals, carbohydrates to support training, and regular hydration can help you recover from strength practice. No supplement is required to learn the movement, and nutrition cannot compensate for poor technique or insufficient rest.
Recovery and Injury Prevention
Recovery techniques should be simple and consistent: sleep adequately, vary training intensity, eat regular nourishing meals, and allow sore muscles to recover before repeating demanding work. Gentle movement may reduce stiffness, but aggressive stretching or massage should not be used to push through an injury.
Sports psychology is relevant because fear of falling or frustration can affect movement quality. Use a stable support, practice near a clear surface, and judge progress by control and consistency rather than by comparing your timeline with someone else’s. A missed attempt is information about the current progression, not a final verdict on your ability.
Pros, Cons, and Limitations
Potential advantages
- Develops unilateral leg strength and coordination with minimal equipment.
- Can improve awareness of balance, foot control, and side-to-side differences.
- Fits well into home workouts and requires little space.
- Provides a clear skill-based goal that can make strength training engaging.
Potential disadvantages
- It requires considerable mobility and balance, so progress may be slow for some people.
- Repeated deep attempts can irritate a joint if technique, load, or recovery is poorly managed.
- It may encourage compensations when treated as a test rather than a skill.
- A full pistol squat is not necessary for every athlete, runner, or general fitness goal.
The biggest limitation is individual variation. Ankle structure, hip anatomy, previous injuries, body proportions, training history, and balance all influence the movement. A supported or partial pistol squat can be a perfectly useful endpoint. If your sport requires sprinting, jumping, lifting, or endurance, training those qualities directly may provide more relevant benefits than pursuing a visually complete pistol squat.
Concise Q&A
How long does it take to learn a pistol squat?
There is no reliable universal timeline. Someone with existing strength and mobility may progress quickly, while a beginner or person returning from injury may need much longer. Use technical milestones rather than a deadline.
Should my knee pass my toes?
In a deep squat, the knee may travel forward over the toes. The important factors are comfort, control, a stable foot, and alignment with the direction of the toes. Do not force a position that causes pain.
Why does my heel lift?
Limited ankle mobility, poor balance, or an unsuitable stance may contribute. Try a supported version, work within a higher range, and practice gentle ankle mobility. A small heel elevation can be used temporarily, but it does not remove the need to improve control.
Are pistol squats bad for the knees?
Not automatically. Exercise tolerance depends on the person, load, range, technique, and training volume. Pain, swelling, instability, or worsening symptoms are reasons to stop and seek professional evaluation.
Can I learn them with no equipment?
Yes, although a wall, countertop, sturdy post, or box can make progression safer and easier to control. Never use unstable furniture as support.
Final Takeaway
The safest answer to how to do pistol squats progression from zero is to treat the exercise as a sequence of skills: build a comfortable squat, develop unilateral strength, improve ankle and hip control, practice with support, manage depth, and remove assistance gradually. Combine the progression with balanced strength training, appropriate cardio, mobility, nutrition, and recovery. A controlled partial or assisted pistol squat is meaningful progress, and there is no requirement to force a full repetition if it does not suit your body or goals.
Disclaimer: This article is for general educational information and is not medical advice. Exercise carries some risk. If you have pain, a current or previous injury, a medical condition, or uncertainty about your readiness, consult a qualified healthcare professional before beginning or modifying training.