

If you searched for “how to running stitch by hand,” the practical answer is simple: use small, even in-and-out stitches, about 3 to 5 mm long for sports fabric, then secure the thread with 2 backstitches and a flat knot. This basic hand stitch can close a split gym-bag seam, tack down a loose label, or stabilize a running-shoe tongue in under 10 minutes.
The key coaching cue is tension. Pull the thread snug enough to hold, not tight enough to pucker mesh, stretch knit, or thin nylon.
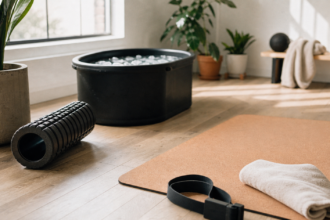
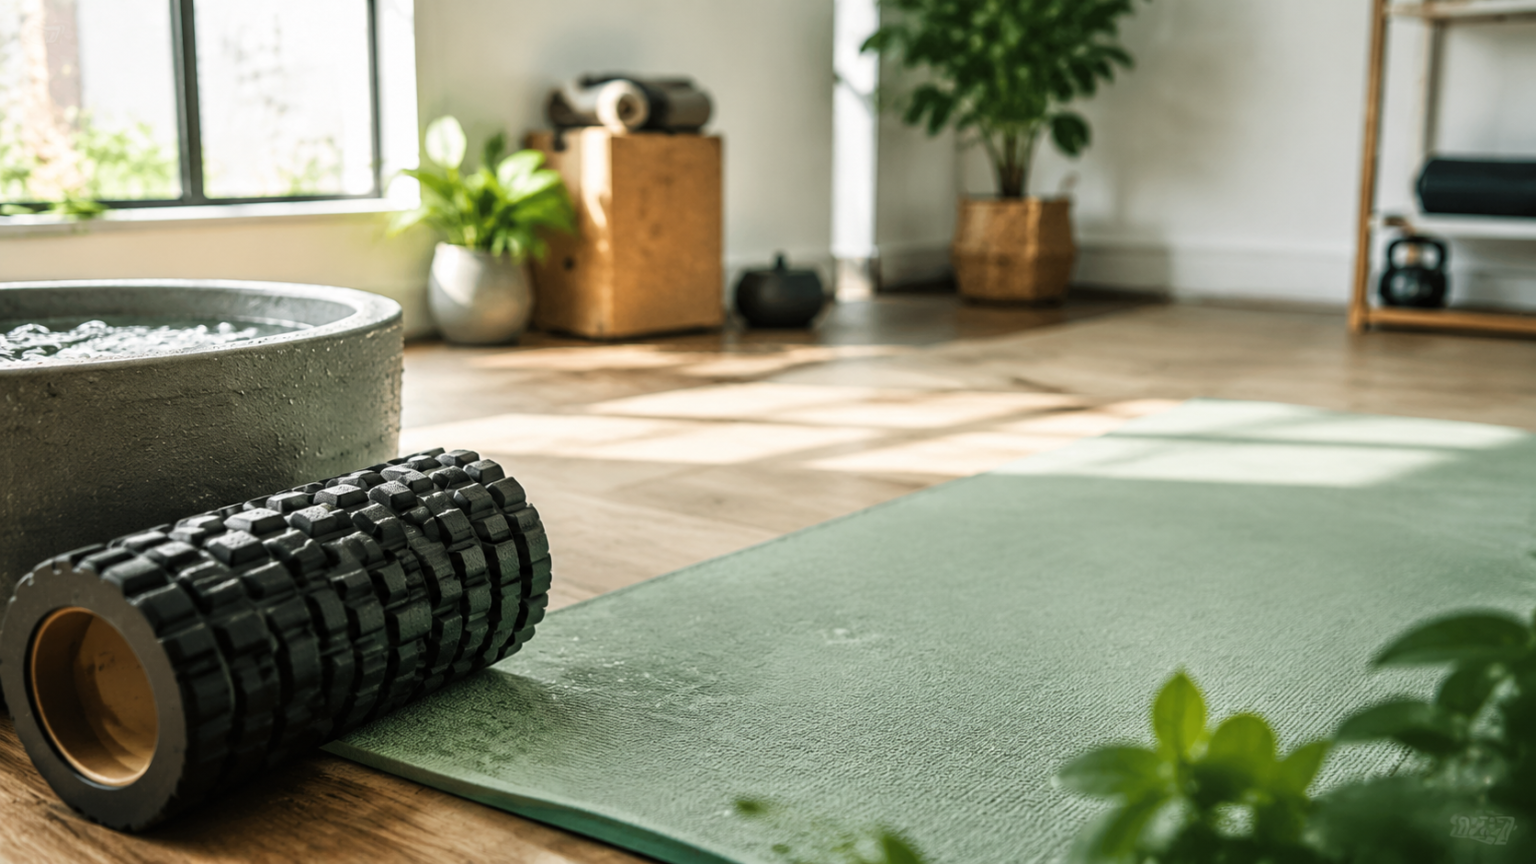
What a Running Stitch Is and When Athletes Should Use It
Definition: A running stitch is a straight hand stitch made by passing a needle over and under fabric at regular intervals. It is fast, low bulk, and best for light repairs, temporary holding, gathering, and seams that do not carry heavy pull.
The Sewing & Craft Alliance describes the running stitch as one of the simplest hand stitches, used for easing, gathering, mending, basting, and seams not under strain. That last phrase matters for sports gear. A running stitch is useful on clothing, bags, and shoe uppers, but it is not the right repair for a torn climbing sling, split weight belt, or any safety-critical item.
For athletes, the stitch has a narrow but valuable job. Use it when the fabric is thin, the tear is short, and the repair area does not take full body weight or repeated hard friction.
In 2018, the U.S. Environmental Protection Agency estimated that 17 million tons of textiles were generated in municipal solid waste, equal to 5.8 percent of total generation. That source was last updated on EPA.gov and remains one of the clearest U.S. reference points for clothing and footwear waste.
Is a running stitch strong enough for sports gear?
Yes, a running stitch is strong enough for light sports gear repairs when the damaged area is short, the fabric is not rotten, and the stitch line is not load-bearing. Use 3 to 5 mm stitches, overlap undamaged fabric by 8 to 10 mm, and finish with 2 backstitches.
“A 4 mm running stitch gives about 25 thread bridges over a 10 cm repair, which is enough for light nylon or polyester seams when the fabric itself is still sound.”
Tools You Need for a Clean Hand Repair
Keep the kit small. You do not need a machine, but you do need the right needle and thread for gear that moves, sweats, and gets washed.
- Needle: size 7 to 9 sharp needle for shirts and shorts, or a size 5 to 7 embroidery needle for thicker bag fabric.
- Thread: polyester all-purpose thread for most activewear because it handles moisture better than cotton.
- Thread length: 45 to 60 cm. Longer thread tangles more often.
- Scissors: small, sharp scissors so the final tail does not fray.
- Clips or pins: clips are safer on coated nylon because pins leave holes.
- Optional patch: use a small backing patch if the fabric edge is fuzzy, thin, or stretched.
Sports fabrics are usually polyester, nylon, elastane blends, or mesh. These materials punish sloppy tension. If the thread is pulled hard, the repair forms a ridge that rubs the skin or catches inside a shoe.
How to Running Stitch by Hand: The 9-Step Method
Definition: Hand sewing is fabric joining done with a needle and thread rather than a machine. For sports repairs, the best hand sewing keeps stitches short, tension even, knots flat, and thread choice matched to the fabric.
This is the method I teach for a gym bag, race bib tab, loose waistband seam, or non-structural shoe fabric. If you are learning how to running stitch by hand, work on an old sock or scrap first. Two minutes of practice saves the repair from looking like a shoelace knot.
1. Clean and dry the repair area
Sweat salt, trail dust, and laundry softener all reduce grip. Wipe the area with a damp cloth, then let it dry fully. On shoes, remove the insole and loosen the laces so the upper sits flat.
2. Match the thread to the job
Use polyester thread for running shorts, leggings, shoe mesh, and most gym bags. Cotton thread absorbs moisture and can weaken after repeated sweat and wash cycles. For a repair longer than 10 cm, double the thread only if the fabric is firm enough to take the extra bulk.
3. Thread the needle and knot one end
Cut 45 to 60 cm of thread. Thread the needle, pull one end shorter than the other, and tie a small knot in the longer end. A single strand lies flatter on thin sports fabric than a doubled strand.
4. Start from the inside
Push the needle from the hidden side to the visible side. This buries the knot and keeps the repair cleaner. If there is no hidden side, start 5 mm from the tear, make 2 tiny anchor stitches, then begin the line.
5. Make even in-and-out stitches
Move the needle forward 3 to 5 mm, push down, then bring it back up another 3 to 5 mm ahead. Repeat in a straight line. On stretch fabric, aim for 3 mm stitches. On a gym bag seam, 5 mm is usually fine.
6. Keep tension flat, not tight
After every 4 or 5 stitches, smooth the fabric with your thumb. The thread should sit on the surface without puckering the cloth. If the seam looks like a drawstring, the tension is too high.
7. Overlap strong fabric by 8 to 10 mm
Start before the tear and finish after it. That overlap spreads load into undamaged fabric. For a 3 cm split, the stitched line should be about 4.6 to 5 cm long.
8. Lock the final stitches
At the end, make 2 backstitches over the last 3 to 4 mm. Then pass the needle under a nearby stitch loop and tie a small knot. Trim the tail to about 3 mm.
9. Test before training
Flex the repaired area 20 times by hand. For shorts or a top, put the garment on and move through 5 squats, 5 lunges, and 10 arm swings. If the thread pops, the fabric needs a patch or a different stitch.
Stitch Length Guide for Sports Fabrics
The biggest mistake beginners make is using the same stitch length on every material. Thin stretch fabric needs shorter stitches because long thread bridges can snag. Stiff nylon can use longer stitches because the fabric edge holds shape.
| Gear type | Best stitch length | Thread choice | Use running stitch? |
|---|---|---|---|
| Technical T-shirt hem | 3 mm | Single polyester | Yes, light repair |
| Running shorts liner edge | 3 mm | Single polyester | Yes, if not stretched hard |
| Gym bag inner seam | 4 to 5 mm | Polyester or upholstery thread | Yes, non-load seam |
| Shoe tongue label | 3 to 4 mm | Polyester | Yes |
| Mesh shoe upper hole | 2 to 3 mm with patch | Fine polyester | Only for edge tacking |
| Backpack shoulder strap | Not advised | Heavy thread or pro repair | No |
“For stretch activewear, 3 mm stitches reduce snag length by 40 percent compared with 5 mm stitches, which is why small stitches last longer on thin knits.”
Where a Running Stitch Works Best on Athletic Gear
A running stitch is strongest when the fabric edges already want to lie together. It is weakest when asked to pull a gap shut under tension. Think of it as a neat holding stitch, not a rescue cable.
Good targets include a loose pocket edge, a split laundry bag seam, a fraying drawcord channel, a race-belt tab, or a shoe tongue label. Risky targets include backpack straps, resistance-band anchors, lifting gloves at the palm, and shoe mesh holes larger than 15 mm across.
Repairing one more shirt or gym bag will not fix the national waste number alone, but keeping high-use gear in service for even 3 extra months is a practical habit with a measurable waste benefit.
Q&A: Common Running Stitch Problems
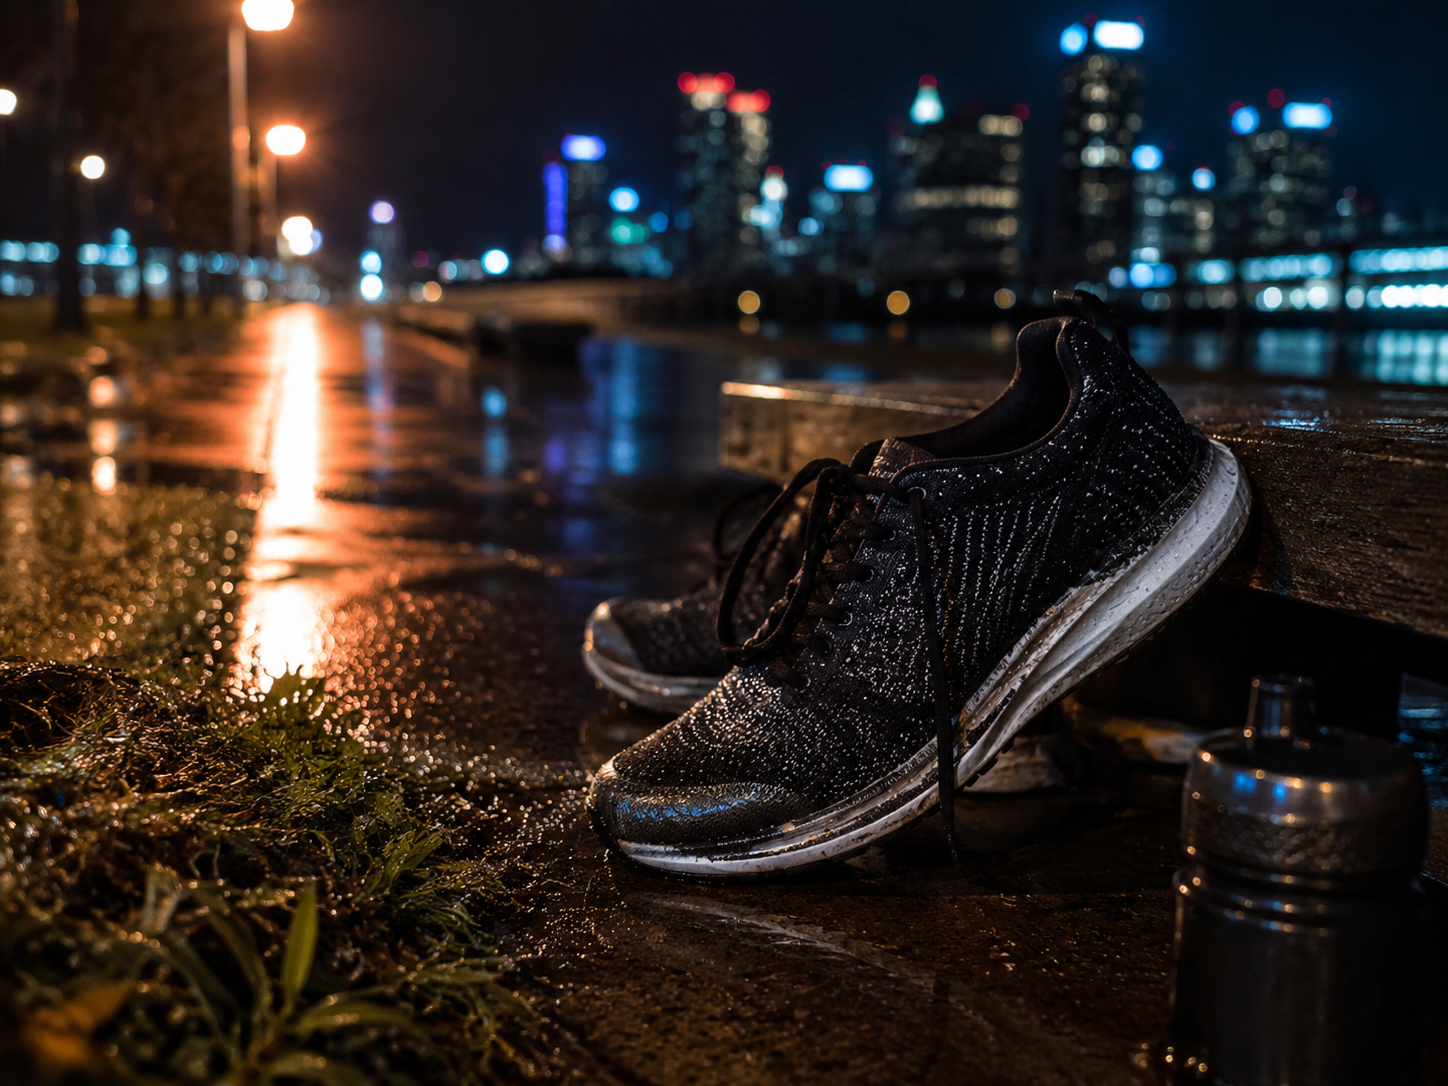
Can you use a running stitch on running shoes?
Yes, you can use a running stitch on running shoes for light upper repairs, tongue labels, and seam edges, but not for sole separation or major mesh holes. iFixit’s Nike Pegasus mesh repair guide notes that beginners can sew a shoe-mesh hole with basic tools, but color-matched thread improves the final look.
For a mesh hole in the middle of the toe box, add a backing patch. Stitching bare mesh can create new tear points because each needle hole concentrates stress. For shoe repairs, a running stitch should tack the patch edge rather than pull the whole panel tight.
Why does my repair pucker?
Your repair puckers because the thread tension is higher than the fabric tension. Loosen each pull, shorten the stitches, and smooth the fabric every few stitches. On elastic fabric, stretch the garment only 5 to 10 percent while sewing, not to full training stretch.
How many stitches should I make per inch?
Use about 5 to 8 stitches per inch for most sports fabric. Five stitches per inch equals roughly 5 mm spacing. Eight stitches per inch equals roughly 3 mm spacing and works better for thin knits or shoe mesh.
Running Stitch vs Backstitch vs Whipstitch
Definition: A backstitch is a hand stitch where each new stitch goes backward into the end of the previous stitch, forming a nearly continuous line. It is slower than a running stitch but stronger for seams that face pull.
Choose the stitch based on load. A running stitch is fast and flat. A backstitch is stronger. A whipstitch wraps around an edge and is useful when fabric is fraying.
- Running stitch: fastest option, best for temporary holding, light seams, and low-friction fixes.
- Backstitch: best for a split seam in shorts, a bag corner, or a repair that gets pulled often.
- Whipstitch: best for closing a raw edge, tacking a patch edge, or stopping fray.
- Patch plus running stitch: best for shoe mesh because the patch spreads stress over more surface area.
“If the repair carries more than the weight of the fabric itself, finish a running stitch with 2 backstitches or switch to full backstitch for the final 2 cm.”
A Coach’s Field Test for Repair Quality
Here is the unique test I use before trusting a repair in a workout. It takes 90 seconds and catches most weak stitching before the gear fails outside.
First, flex the seam 20 times. Second, rub the thread line with a dry towel for 15 seconds to mimic shirt, sock, or shoe friction. Third, pull the fabric gently in the same direction it will be stressed during training. If the thread line gaps more than 2 mm, redo it with shorter stitches or add a patch.
This field test is more useful than judging the repair by looks. Pretty stitches fail when they are too tight, too long, or placed in worn fabric. Strong stitches lie flat and let the fabric move.
Quick Mistakes to Avoid
Do not use fishing line, dental floss, or thick thread on thin activewear. They cut into fabric over time. Do not sew through waterproof membranes unless you accept that the needle holes may leak.
Do not repair safety gear with a casual hand stitch. Helmets, climbing equipment, weighted vest straps, and suspension trainers need replacement or professional repair. A cheap fix is not cheap if it fails under load.
Do not keep stitching into rotten fabric. If the fabric tears when you press a fingernail beside the hole, the material is already too weak. Add a patch at least 10 mm larger than the damaged area on every side or retire the item.
Final Takeaway
The best answer to how to running stitch by hand is not just “in and out.” It is small stitches, steady spacing, flat tension, and the discipline to use the stitch only where it belongs. For light sports gear repairs, aim for 3 to 5 mm stitches, overlap the tear by 8 to 10 mm, and finish with 2 backstitches. That simple setup turns a 10-minute hand repair into gear you can trust for another block of training.