






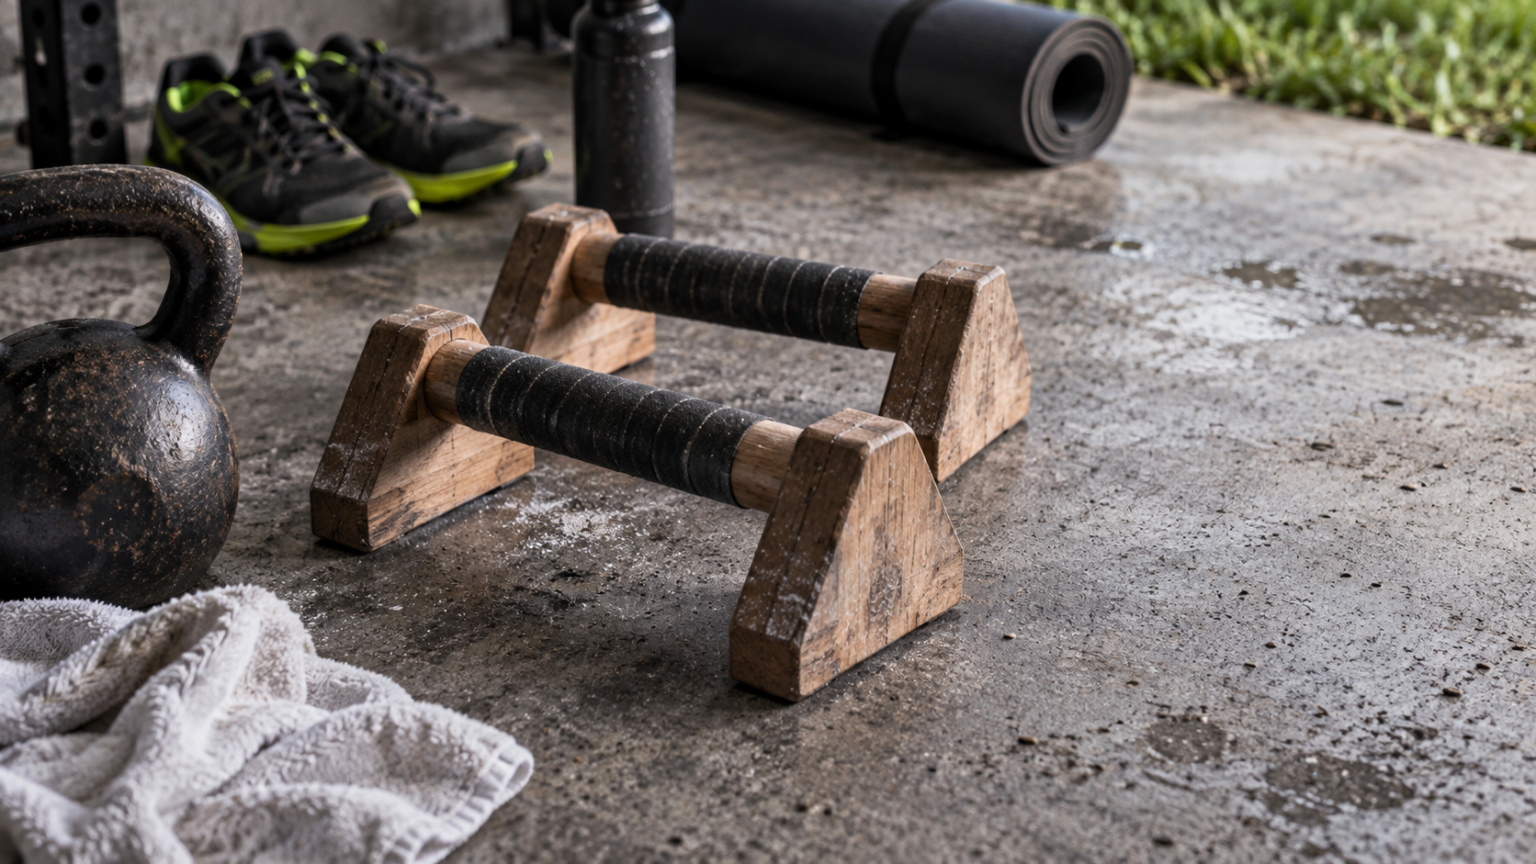
Wrist discomfort can make push-ups and handstands feel harder than the rest of the movement. The wrists support body weight in both exercises, often while bent backward, so they need to tolerate pressure as well as move comfortably. A gradual routine can help build wrist and forearm capacity, but strengthening is not a way to diagnose or treat an injury.
This guide explains how to strengthen wrists for push-ups and handstands with practical mobility, strength, and loading steps. It also covers technique changes, progression, recovery, and when to seek professional advice. The approach is conservative: start with manageable ranges and loads, then increase one training demand at a time.
What Wrist Strength Means
“Wrist strength” is a convenient phrase for several related abilities. The wrist joint itself does not produce force in isolation: muscles in the forearm move and stabilize it, while the hand, fingers, and shoulder contribute to supporting and controlling your body. For push-ups and handstands, useful capacity includes forearm strength, comfortable wrist extension (bending the hand back), grip and finger control, and the ability to bear load through the palm.
Mobility and strength are different. Mobility is the available movement at a joint; strength is the ability to produce or resist force. A person may have plenty of wrist extension but find loaded positions difficult, or have strong forearms but limited comfortable extension. Training should address the specific limitation rather than forcing a stretch or adding weight indiscriminately.
Why Push-Ups and Handstands Challenge the Wrists

In a standard floor push-up, the palm is planted and the wrist is extended while the arm accepts part of your body weight. A handstand places a greater and less familiar balance demand on the hands and wrists. Small shifts in pressure across the palm and fingers help control balance, so the wrists need to tolerate load and respond to it.
How challenging a position feels depends on more than body weight. Hand placement, elbow position, available wrist extension, surface firmness, fatigue, and recent training all matter. A useful routine prepares the wrist for the position you intend to practice, but it cannot guarantee that discomfort will disappear or prevent every injury.
Start With a Readiness Check
Before loading the wrists, compare both sides for comfortable movement. Slowly make a fist, open the hand, turn the palm up and down, and gently bend the wrist forward and backward. Then try leaning your hands against a wall with fingers pointing upward. Keep the pressure light. These are informal movement checks, not diagnostic tests.
Do not start a loading routine through sharp pain, significant swelling, numbness, tingling, new weakness, or pain following a fall or impact. Those symptoms warrant assessment by a qualified healthcare professional. If you have a known wrist condition, recent surgery, or persistent symptoms, get individualized guidance before progressing.
A Practical Wrist Routine
Use the following sequence two or three times per week to begin, ideally before a push-up or handstand session. Keep effort controlled. Start with a range and load that feel comfortable, and finish each exercise with the same quality of movement you had at the start.
1. Gentle wrist circles and hand opening
With your forearms relaxed, make small, slow circles with each wrist in both directions. Then spread your fingers comfortably and make a relaxed fist. Do 8 to 12 circles each way and 10 to 15 open-and-close repetitions. These movements introduce motion; they should not be treated as a forceful stretch or as a strength test.
2. Comfortable wrist extension
Place your palms together in front of your chest, fingers pointing upward. Lower your hands gradually while keeping the heels of the palms together, stopping before a painful or pinching sensation. Hold a mild stretch for 10 to 20 seconds, then release. Repeat two or three times. Alternatively, place your palm on a wall with fingers up and move closer only as comfort allows.
Stretching should feel mild, not sharp or numb. More range is not automatically better. If this position is uncomfortable, reduce the angle or skip it and use a less demanding wall position.
3. Forearm flexion and extension
Sit with one forearm supported on a table, palm facing down and hand just beyond the edge. Holding a very light object, lift the back of the hand a short distance, then lower it slowly. Turn the palm up and repeat the movement. Begin with 8 to 12 controlled repetitions in each direction for one or two sets. The object can be a small household item; no particular weight is required.
Keep the movement at the wrist rather than swinging the elbow or shoulder. If the exercise causes pain, reduce the range or resistance. If even an unloaded movement hurts, stop and seek advice rather than trying to train through it.
4. Side-to-side wrist control
Rest your forearm on a table with the thumb pointing upward. Move the hand gently toward the thumb side and then toward the little-finger side. Use no weight at first. Try 8 to 12 repetitions on each side. This adds movement in a direction that ordinary wrist curls may not cover, but it is still only one part of a broader preparation routine.
5. Wall weight shifts
Stand facing a wall and place both palms against it at about shoulder height. Keep your elbows soft, then shift a small amount of body weight forward into your hands and back again. Try 8 to 12 slow shifts. You can adjust difficulty by moving closer to or farther from the wall. Keep the palms in contact and distribute pressure across the hand rather than collapsing into the heel of the palm.
6. Floor weight shifts and quadruped holds
When wall loading is comfortable, move to hands and knees on a firm, nonslip surface. Place hands under or slightly ahead of the shoulders, fingers spread, and gently shift your shoulders forward and back. Start with a small movement for 6 to 10 repetitions. You can also hold the position for 10 to 20 seconds. Begin with a short hold and build gradually; do not turn the exercise into a test of how long you can endure discomfort.
To reduce wrist extension, try placing your hands on a stable, purpose-made push-up handle or on closed fists only if that position is comfortable and the surface is secure. Improvised objects that may roll or tip are not suitable supports.
Progressing to Push-Ups
Choose a push-up variation that lets you keep a steady body position and comfortable hand pressure. A wall push-up is usually less demanding than a counter-height incline, which is usually less demanding than a floor push-up. These are options, not a required timetable. Select the level that feels controlled on the day.
Place hands around shoulder width, spread the fingers, and keep the whole hand connected to the surface. As you lower, let the elbows travel in a comfortable path rather than forcing them directly out to the sides. Maintain a firm trunk and avoid shifting all pressure into one hand. If the wrists become increasingly uncomfortable during a set, stop and use an easier variation or end the session.
Progress by changing one variable at a time: use a slightly lower incline, add a small number of repetitions, or add a set. Avoid increasing range, volume, and difficulty all at once. Keep at least one easier session available while adapting to a new level.
Preparing for Handstands
Handstand practice adds balance and overhead control to wrist loading. Build the support position before attempting prolonged holds. Start with wall weight shifts or a comfortable quadruped position, then consider a pike position with feet on the floor and hips raised. Only move to wall-supported handstand drills if you already have suitable instruction, a clear practice area, and a safe way to enter and exit the position.
Spread the fingers and use gentle pressure through the fingertips to make small balance adjustments. Keep the elbows straight but not forcefully locked, and avoid letting the shoulders collapse. Do not attempt a freestanding handstand simply because a wrist warm-up feels good: balance skill, shoulder capacity, and safe falling or exit skills matter too. A qualified coach can help assess technique and choose an appropriate progression.
Training Schedule and Recovery
For a beginner, two or three brief wrist-strength sessions each week is a reasonable starting point. Leave time between demanding loading sessions, particularly when you are also practicing push-ups, yoga poses, or handstands. Count all of those activities as wrist loading; adding a separate routine on top of a large training increase may not help.
After training, pay attention to how the wrist feels later that day and the next morning. Mild muscular effort in the forearm can be expected, but worsening joint pain, swelling, or reduced function is a reason to reduce or pause loading. Rest, sleep, and adequate food and fluids support general recovery, but nutrition does not replace appropriate assessment or load management. Running and cardio fitness can support overall conditioning, yet they do not specifically prepare the wrists for weight-bearing exercise.
Benefits and Limitations
Potential benefits
- Gradual loading can improve familiarity and capacity for common wrist-support positions.
- Forearm exercises train movements that are easy to miss in a routine focused only on push-ups.
- Wall and incline variations let you adjust the challenge without immediately committing to full floor or overhead loading.
- Practicing controlled hand pressure can make technique more deliberate during strength training and yoga.
Limitations
- These exercises cannot identify the cause of wrist pain or treat every injury.
- Improved strength does not guarantee pain-free push-ups or safe handstands.
- Progress depends on the individual, training history, technique, and any underlying condition; a fixed schedule will not suit everyone.
- Wrist preparation does not replace shoulder, trunk, balance, or coaching requirements for handstands.
Common Mistakes
- Forcing range: Pressing hard into wrist extension can irritate a sensitive joint. Use a comfortable range and progress gradually.
- Training through sharp pain: Discomfort that changes your movement or worsens as you continue is not a useful target.
- Adding load too quickly: A new handstand drill plus more push-up volume can create a sudden jump in total wrist stress.
- Ignoring hand pressure: Collapsing into the palm heel or allowing fingers to lift can reduce control. Keep the hand actively connected to the surface.
- Assuming stretching is strengthening: Stretching may help explore comfortable movement, but it does not replace progressive resistance or weight-bearing practice.
Q&A
How often should I strengthen my wrists?
Start with two or three short sessions weekly and adjust based on how you recover. Include push-ups, yoga, and handstands when considering total wrist workload.
Can I do push-ups if wrist extension is uncomfortable?
Do not force the painful position. A wall or incline variation, or a stable push-up handle, may allow a more comfortable hand angle. Stop if pain persists or worsens, and seek professional advice when needed.
How long does it take to prepare for handstands?
There is no reliable universal timeline. It depends on your current wrist and shoulder capacity, balance skills, technique, and practice consistency. Increase difficulty based on control and comfort, not a deadline.
Should my wrists hurt during training?
Sharp, escalating, or lingering joint pain is not a goal of training. Stop the provoking exercise if symptoms worsen, and consult a healthcare professional for persistent pain or concerning symptoms.
Sources and Approach
This article uses a conservative, gradual-loading approach and does not claim that one routine has been proven superior for every athlete. The movement progressions are practical exercise guidance, not a clinical protocol. For injury context, consult the American Academy of Orthopaedic Surgeons’ patient guidance on wrist sprains and the NHS guidance on wrist pain. Both emphasize appropriate care when symptoms are significant or persistent; neither should be treated as a personalized diagnosis.
Safety and informational disclaimer: This article is general fitness information, not medical advice. Stop exercising and seek qualified care for severe or worsening pain, substantial swelling, deformity, numbness, tingling, or symptoms after an injury. Consult a clinician or qualified coach for advice tailored to your health and training.